If your garage door cable has snapped, you’ll need to know how to make garage door cable repairs. Garage door cables are essential for the smooth operation of your garage door, and if they’re not working properly, it can cause all sorts of problems. In this step-by-step guide, we will show you how to repair a garage door cable quickly and easily. So don’t wait – follow these instructions and get your garage door up and running again in no time!
When Should You Consider Garage Door Cable Repairs?
Garage door cables are under a lot of tension, and they can snap if they become worn or frayed. If you notice that your garage door isn’t opening or closing as smoothly as it used to, it’s a good idea to check the condition of your cables. If you see any signs of wear or damage, it’s time to replace them.
Some Ways to Determine Garage Door Cable Problems
If you’re not sure whether your garage door issue is due to a problem with the cables, there are some other ways you can determine if they need to be repaired or replaced.
– One way is to look at the cables themselves. If you see any fraying or damage, that’s a clear sign that they need to be replaced.
-Another way to tell if your garage door cables are causing problems is by listening for grinding or squeaking noises when the door is opening or closing.
-These noises can indicate that the cables are rubbing against something, which can cause damage over time.
-If your garage door seems unbalanced or is hanging off to one side, that’s another sign that the cables may be damaged and need to be replaced.
If you see any of these signs, it’s time to take action and repair or replace your garage door cables.
Replacing Garage Door Cables
Now that you know when to replace your garage door cables, let’s take a look at how to do it. This process is not difficult, but it does require some basic tools and knowledge. So before you get started, make sure you have everything you need:
– A ladder
– A socket wrench set
– A screwdriver set
– Replacement garage door cables (You can purchase these at your local hardware store)
– Garage door grease
– A rag or old towel
Garage Door Cable Repair: Step-by-Step Guide
Now that you know when it’s time to consider garage door cable repairs your garage door cables, let’s get into how to do it. This is a relatively easy repair that most people can do themselves, but if you’re not confident in your ability to do so, please call a professional.
Step One: Disengage the Garage Door Opener
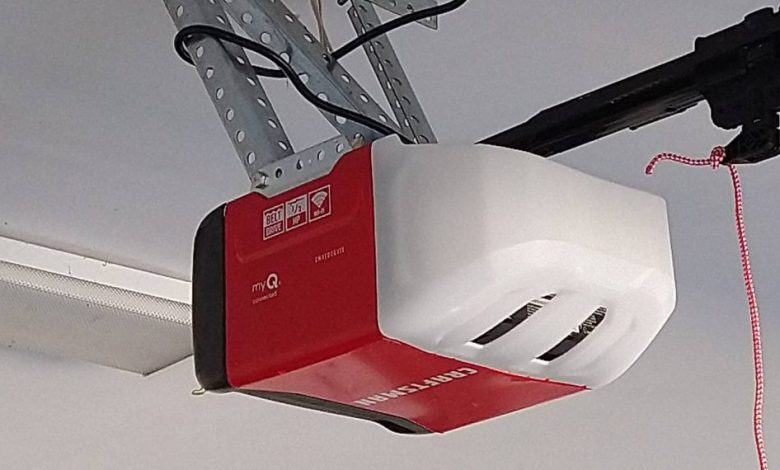
The first step is to disengage the garage door opener. This will prevent the door from moving while you’re working on it, and it’s also a safety precaution. To do this, simply pull the red cord that hangs down from the garage door opener.
Step Two: Examine the Cables
Now it’s time to take a close look at the cables. If they’re frayed or damaged, you’ll need to replace them. If they don’t seem to be damaged, try tightening them with a wrench or pliers.
Step Three: Replace the Cables
If the cables are too damaged to be repaired, you’ll need to replace them. To do this, you’ll need to remove the old cables and then thread the new ones through the pulleys. Make sure that you leave enough slack in the cables so that they can move freely.
Step Four: Reconnect the Garage Door Opener
Once you’ve replaced or repaired the cables, it’s time to reconnect the garage door opener. To do this, simply pull the red cord again to disengage it and then reconnect it to the garage door opener.
Step Five: Test the Garage Door
The last step is to test the garage door to make sure that it’s working properly. Open and close it a few times to see if the cables are moving smoothly. If they are, then you’re all done!
Some Additional Tips
Release The Tension
Garage door cables are under a lot of tension, so it’s important to be careful when you’re handling them. To start, you’ll need to loosen the tension on the garage door springs. This can be done by disconnecting the springs from the brackets that hold them in place. Once you’ve done this, you can remove the old cable and install the new one.
Install a New Garage Door
Installing a new garage door cable is relatively simple – just thread it through all of the pulleys and sheaves until it’s in place. Once you’ve done this, you can reconnect the springs and tighten them back up. That’s it! You’ve successfully repaired your garage door cable.
Remove Debris From the Tracks
If you find that your garage door is still not operating smoothly, there are a few other things you can try. First, check the tracks to make sure they’re clean and free of debris. If they’re not, simply clean them with a soft cloth or brush. You may also need to adjust the tension on the springs. This can be done by loosening or tightening the nuts that hold them in place. With a little trial and error, you should be able to get your garage door working like new again in no time!
Enlist a Professional Garage Door Repair Service
If you’re still having trouble, it’s time to call in a professional. Garage door cable repairs are not something that should be attempted by someone who is not experienced. A qualified technician will be able to diagnose the problem and make the necessary repairs quickly and efficiently. So don’t wait – if your garage door isn’t working properly, contact a garage door cable repair service today! They’ll have your door up and running in no time. Thanks for reading! We hope this guide has been helpful. Garage doors are an essential part of any home, and we want to make sure they’re always in top working condition.
We hope this guide has been helpful. Garage door cables may seem like a small part of your garage door, but they play a big role in its operation. So if you ever find yourself in need of a repair, don’t hesitate to follow these steps and get your door working again.